10 Halloween Walkway Decorating Ideas for a Spooky Entrance
Your front walkway sets the tone before guests or trick-or-treaters even reach the door — it’s the first impression of your whole Halloween display. A few well-placed pieces along the path can turn a plain front yard into a genuinely memorable entrance, without needing to decorate the entire lawn. These Halloween walkway ideas work whether you want a playful, kid-friendly path or a more haunted, dramatic approach.
Pre-Lit Broomstick Pathway Marker
A row of glowing broomsticks planted along either side of the walkway creates an instant, cohesive lighting trail.
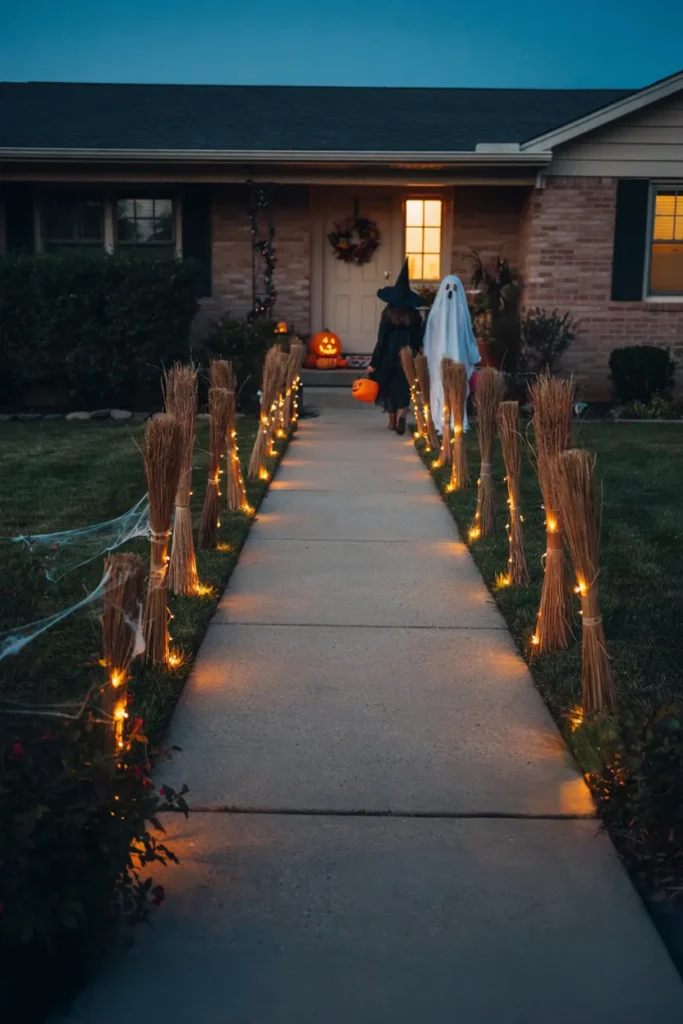
Miniature broomsticks fitted with warm-toned lights, staked into the ground every few feet along both sides of the path, do double duty as both decoration and functional lighting for trick-or-treaters after dark. They read as whimsical rather than scary, making them a good fit for family-friendly Halloween displays.
Materials: Battery or plug-in mini broomsticks with LED lights | Spacing: Every 2-3 feet along both path edges | Power: Battery-operated versions avoid extension cord clutter
Styling tip: Stagger the broomstick heights slightly rather than lining them up perfectly even — a slight variation reads as more natural and less like store-bought uniformity.
Black Cat Silhouettes Along the Path
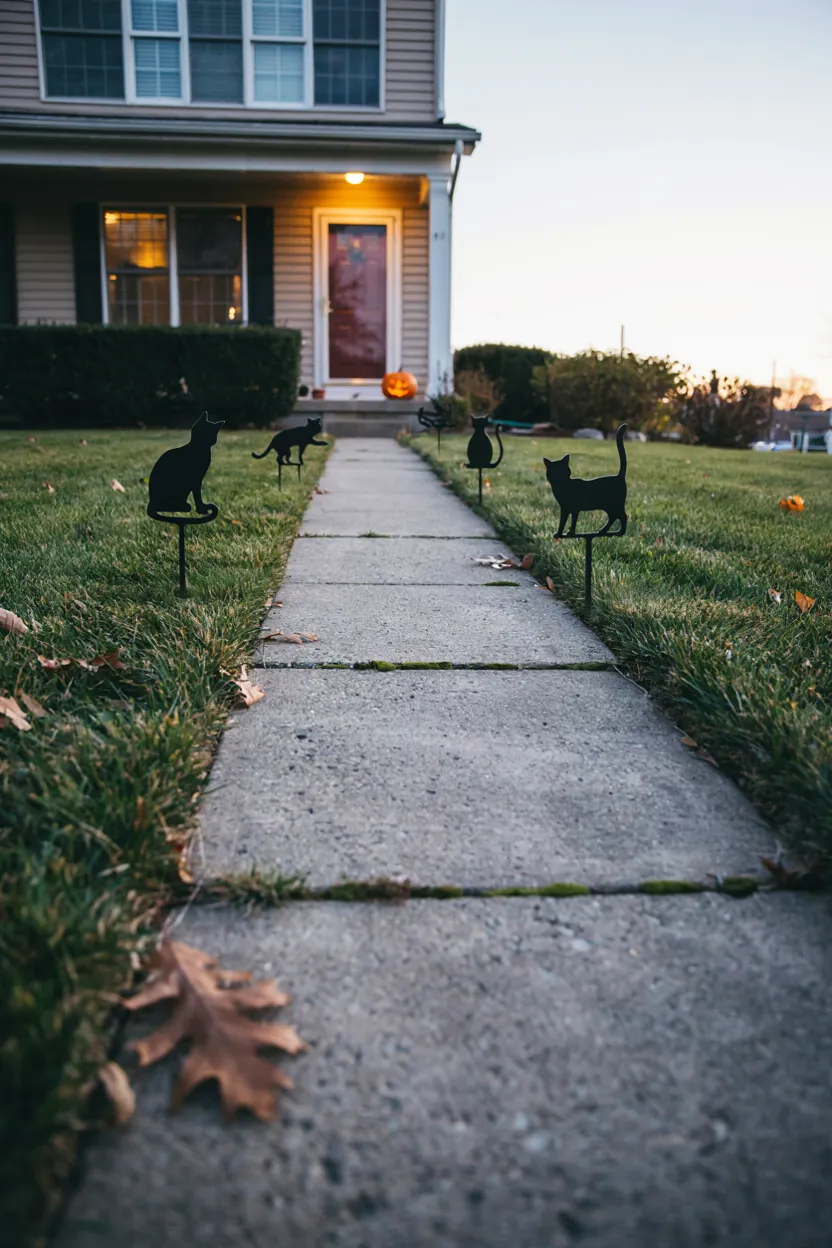
Flat metal cat silhouettes, perched as if watching visitors approach, add an eerie touch without any lighting or assembly.
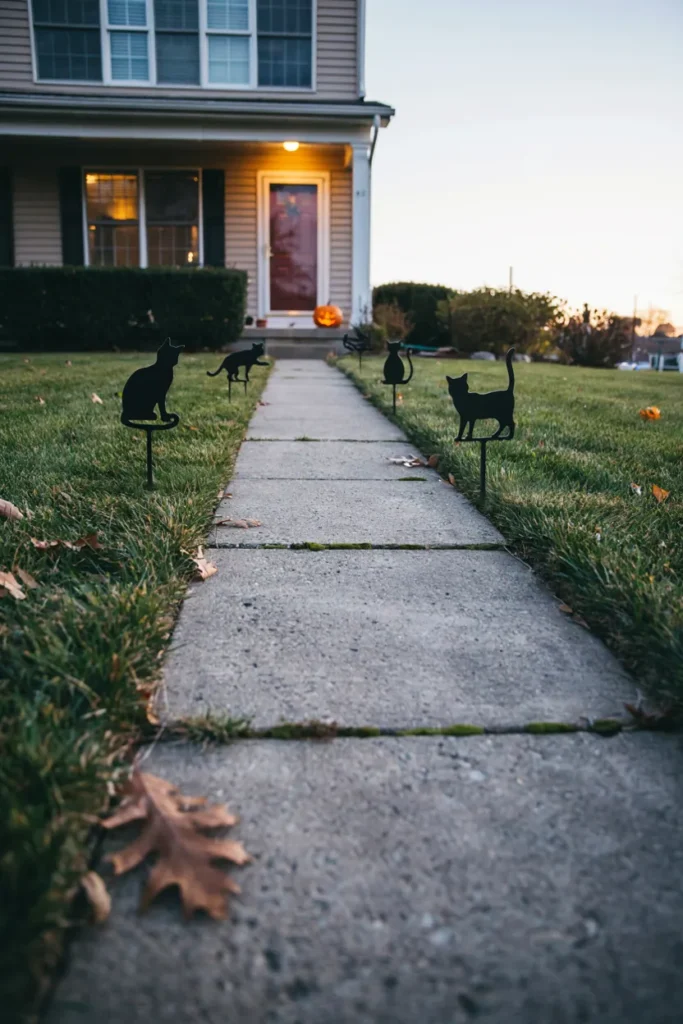
Simple black silhouette cutouts — cats sitting or standing — placed at intervals along the walkway edge cast dramatic shadows at dusk and require zero setup beyond staking them into the ground. This is one of the lowest-effort ideas on this list, since there’s no wiring or battery involved.
Materials: Flat metal or plastic silhouette stakes | Placement: 1 every 4-5 feet, alternating sides | Weather note: Metal versions hold up better in wind than lightweight plastic
Good to know: These work best on a lawn or soil path where the stakes can be pushed in — for a paved walkway, you’ll need weighted stands instead.
Flame-Effect Pumpkin Clusters
Grouping several flame-lit pumpkins at the base of the walkway mimics a cozy bonfire glow without any real fire.
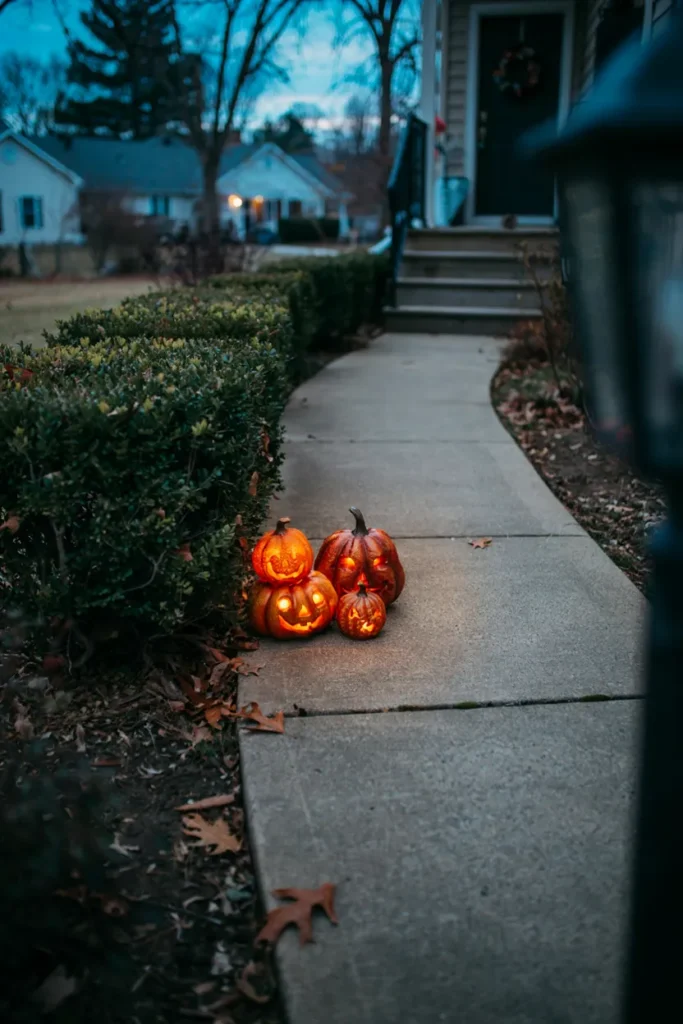
Rather than spacing pumpkins individually down the path, cluster three to five flame-effect (flickering LED) pumpkins together at the entrance point where the walkway meets the street or driveway. The clustered glow reads as a warm, inviting marker of where the path begins, rather than a spooky accent.
Materials: Flame-effect LED pumpkins, varied sizes | Power: Battery or solar-powered options avoid outdoor cords | Placement: One cluster at path entrance, not spread throughout
Best for: The start of a long driveway or walkway, where you want a clear visual marker of where guests should turn in.
“Enter If You Dare” Luminaries
Fabric lanterns lit from within line the path with a warm, inviting glow that still carries a playful dare.
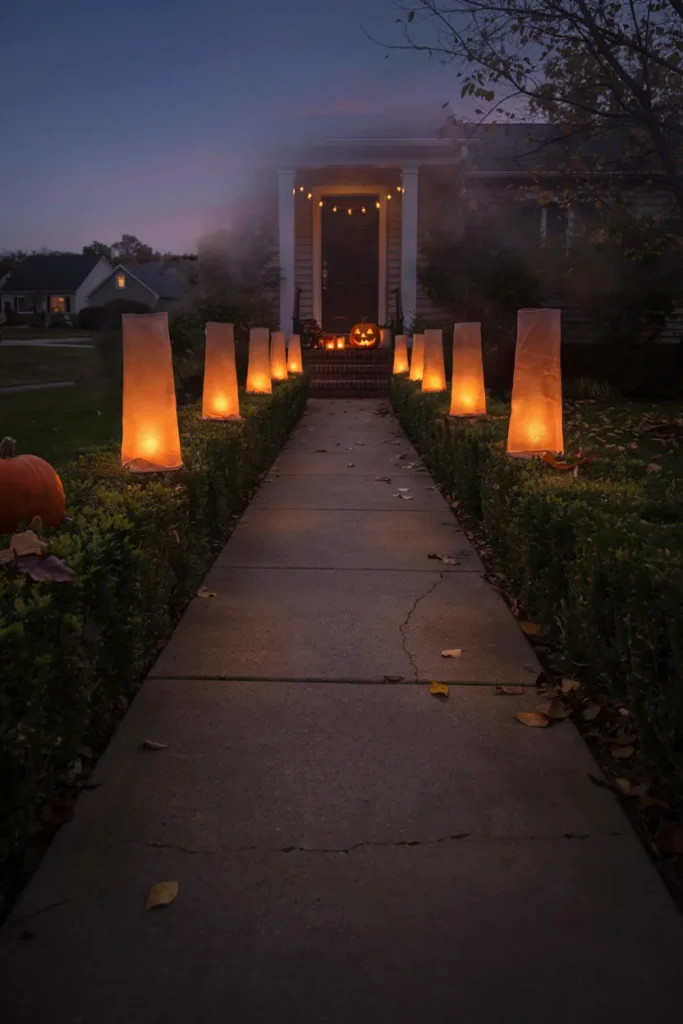
Soft fabric luminaries, lit by small internal lights, work well spaced evenly along both sides of a walkway, especially for evening parties where ambient lighting matters as much as decoration. Unlike harsher plastic props, the fabric diffuses light gently, giving the whole path a warmer feel even with a spooky theme.
Materials: All-weather fabric luminaries with mini lights | Spacing: Even intervals, 3-4 feet apart | Weather: Check fabric is rated for outdoor/damp conditions
Compare: Softer and more ambient than the broomstick lights above — better suited to an elegant evening dinner party than a kids’ trick-or-treat crowd.
Designer Resin Pumpkins in Varying Scale
Oversized and small pumpkins placed together create visual rhythm down the walkway instead of a flat, uniform look.
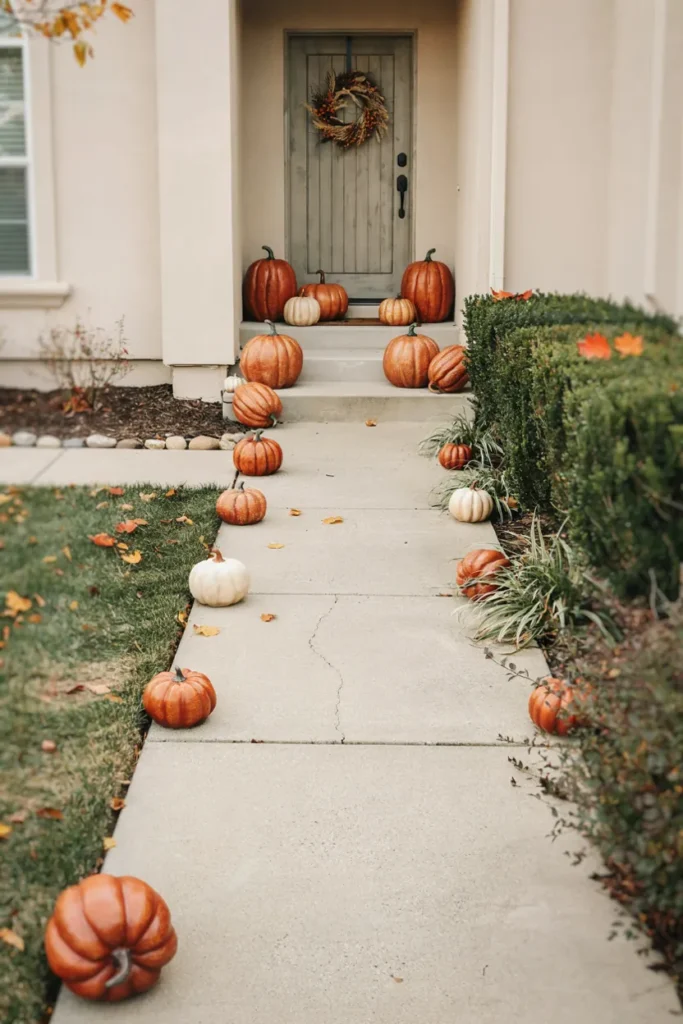
Mixing pumpkin sizes — a few oversized statement pieces near the door, smaller ones scattered further down the path — creates a sense of scale and journey as guests approach. Durable resin versions hold up to weather far better than real pumpkins if you’re setting up weeks before Halloween.
Materials: Weather-resistant resin pumpkins, mixed sizes | Placement: Largest near the entrance, smaller toward the street | Durability: Resin withstands rain better than real pumpkins
Room note: Save your largest pumpkin for right beside the front door — it acts as the visual “finish line” of the walkway journey.
Perched Black Crows
A small flock of feathered black crows perched along fence posts or path edging adds a subtly ominous touch.
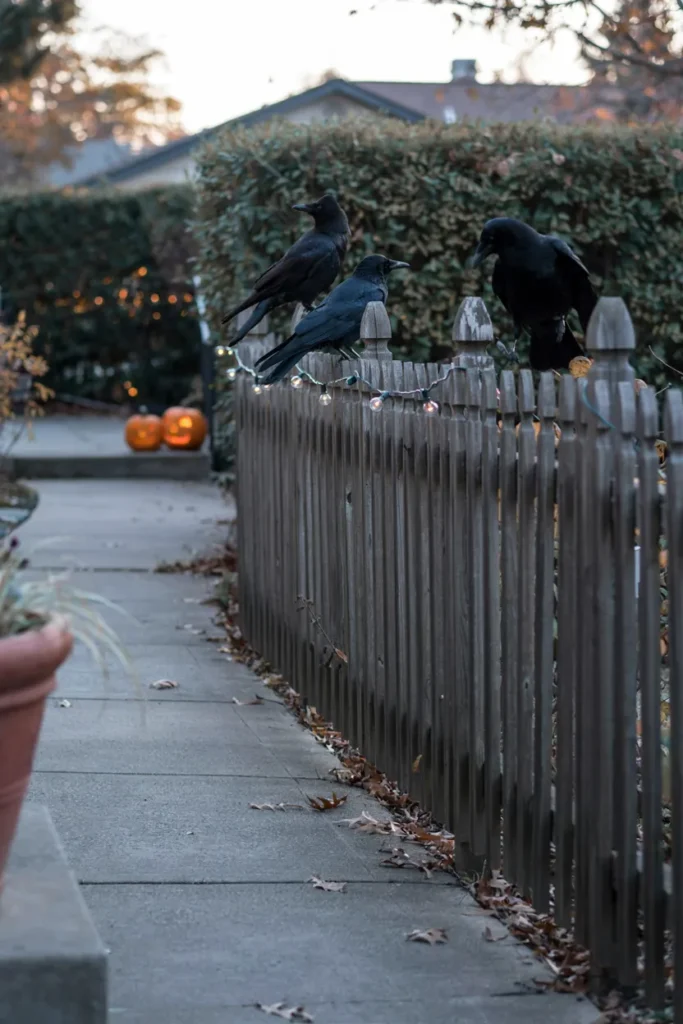
Rather than placing crows directly on the ground, perch them on any existing structure along the path — a low fence, planter edge, or step railing — so they look like they’ve actually landed there. Two or three is usually enough; too many can tip from “ominous” into “cluttered.”
Materials: Feathered crow figures | Placement: 2-3 perched on existing structures, not scattered on ground | Storage: Compact, stores flat between seasons
Styling tip: Position them at slightly different angles, as if they’re watching different directions — uniform, identical poses read as less realistic.
Pre-Lit Spooky Trees Along the Border
Small lighted trees with gnarled, bare branches frame the walkway with height and glow, without any planting involved.
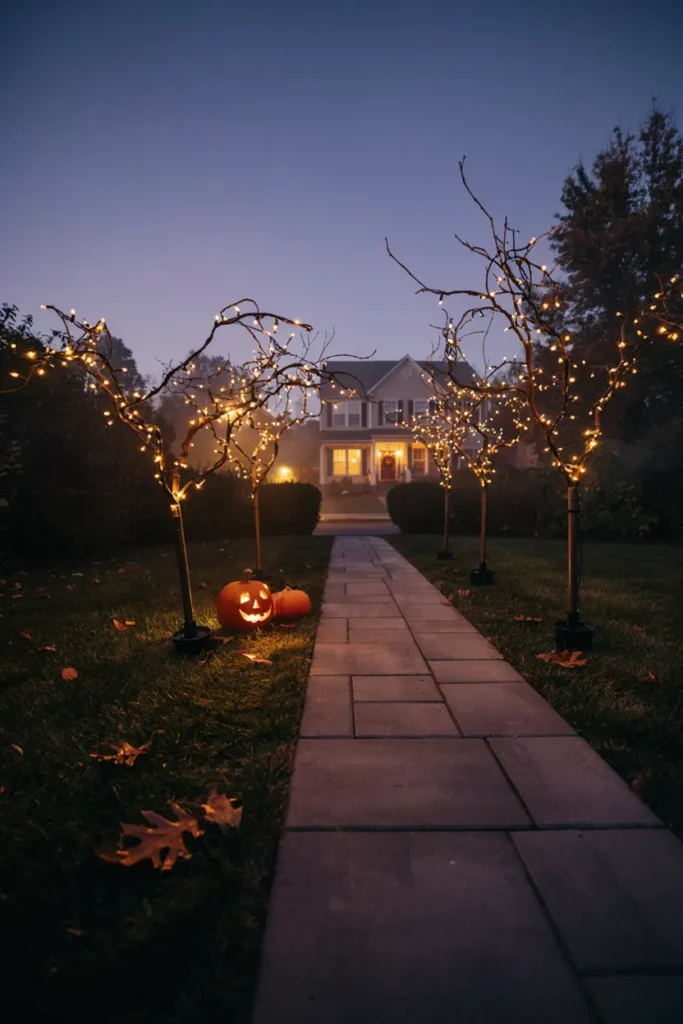
Pre-lit artificial “spooky trees” — thin, twisted branch forms strung with small lights — placed at a few points along the walkway border add vertical height that ground-level props can’t. They plug in directly, so there’s no wiring or planting labor involved, just placement.
Materials: Pre-lit artificial branch trees | Power: Standard outdoor extension cord/outlet | Placement: 2-4 spaced along path border, not clustered
Good to know: Check your outdoor outlet placement before buying multiples — you may need an outdoor-rated extension cord to reach trees further down a long walkway.
Halloween Topiary in Planters
Shaped resin topiary in pumpkin or spiral forms adds a more polished, designer look than typical inflatable props.
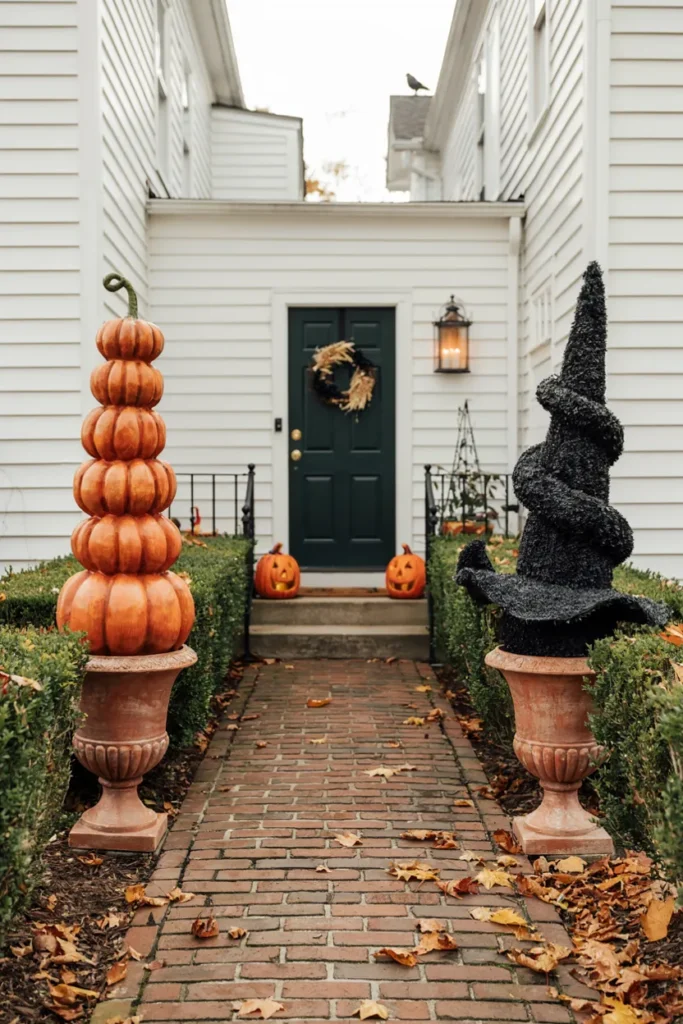
If your existing walkway already has planters or urns, swapping in Halloween-specific topiary shapes — pumpkin forms, spiral “witch hat” shapes — gives the display a more intentional, landscaped feel rather than a pile of separate props. This works particularly well for homes that want Halloween styling without looking like a haunted-house theme.
Materials: Resin or faux-foliage topiary shapes | Placement: In existing planters/urns flanking the walkway or door | Reusable: Stores well, works for multiple seasons
Best for: Homes with a more formal or manicured front entrance, where oversized inflatables or scattered props would look out of place.
Tombstone Accents Along the Grass Edge
A few weathered-look tombstone props tucked into the lawn beside the path suggest a haunted history without excess clutter.
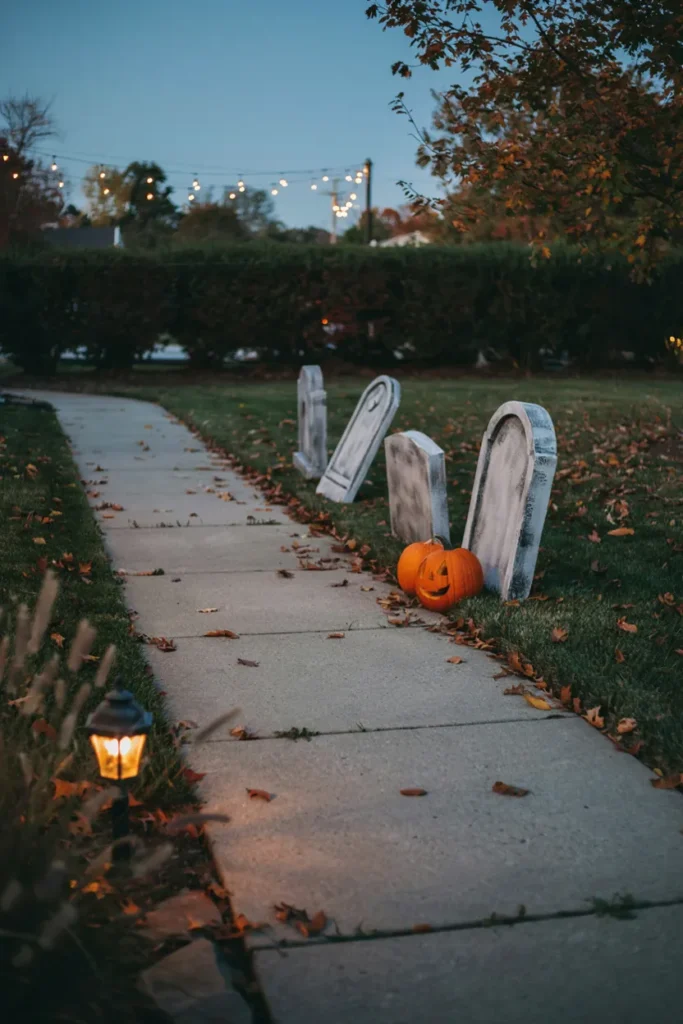
Placed sparingly — two or three, not a full graveyard — along the grass edge bordering the walkway, faux tombstones with a distressed, aged finish read as an intentional detail rather than a full haunted-house buildout. Angle them slightly, rather than standing them perfectly upright, for a more weathered look.
Materials: Lightweight foam or plastic tombstone props, distressed finish | Placement: 2-3 along grass border, angled slightly | Weight: Foam versions may need ground stakes in windy areas
Compare: A more subtle, suggestive touch compared to the perched crows above — this leans into “aged and forgotten” rather than “watched from above.”
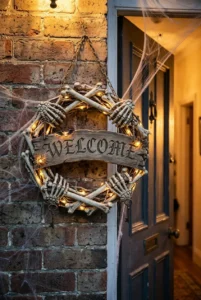
A Statement Wreath at the Walkway’s End
A hand-finished wreath on the front door acts as the walkway’s final, most memorable moment.
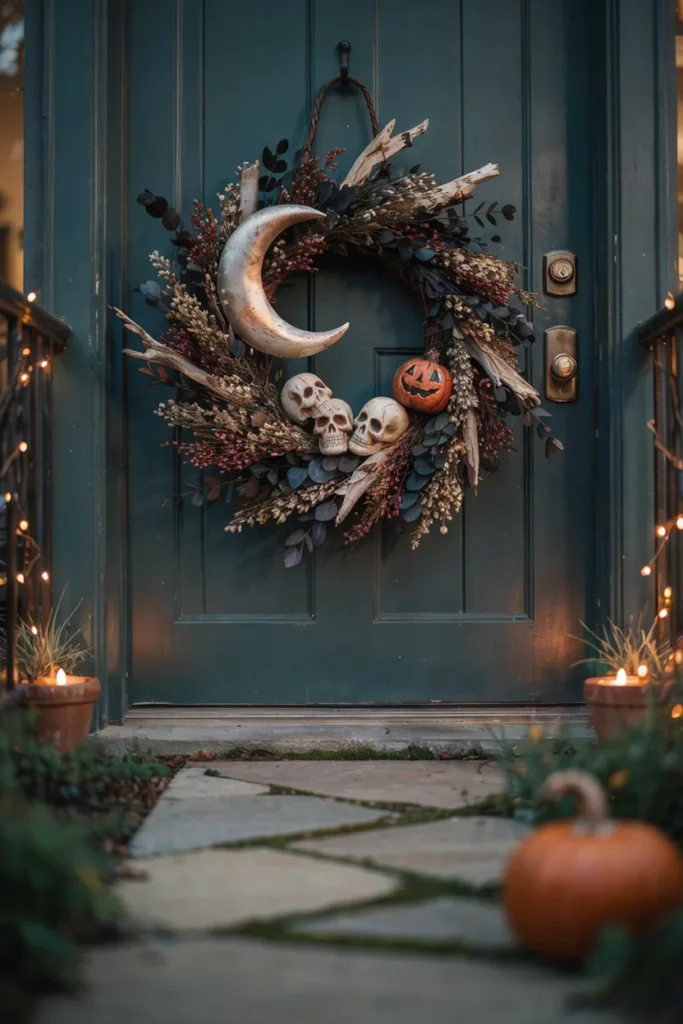
The walkway’s job is to build anticipation toward the door, so end the path with your most detailed, highest-quality piece — a textured wreath with dimensional elements like a moon shape, painted face, or layered foliage. This is the one prop guests will see up close, so it’s worth it to invest slightly more here than in the path pieces leading up to it.
Materials: Resin or mixed-media wreath with dimensional detail | Placement: Front door, centered | Care: Bring indoors between uses to preserve painted finishes
Room note: Echo one small design element from the wreath (a color, shape, or motif) in your entryway decor just inside the door, so the theme carries through rather than stopping abruptly at the threshold.
Conclusion
The most effective Halloween walkways build toward something — start with simple, evenly spaced lighting or markers near the street, add a few standout accent pieces partway down, and finish with your most detailed piece right at the door. You don’t need all ten of these ideas at once; three or four, thoughtfully placed, usually make a bigger impact than a path crowded with too many competing props.